Building a Wooden Gun Case with a Hinged Front: A DIY Guide
Hey there, gun enthusiasts! Are you tired of your firearms rattling around in flimsy cases? Do you dream of a custom-built wooden gun case that not only protects your precious investments but also looks amazing? Well, you're in luck! This DIY guide will walk you through the process of building a beautiful and functional hinged-front wooden gun case.
This project might seem intimidating at first, but trust me, it's a lot easier than it looks. You'll just need some basic woodworking skills, a few tools, and a healthy dose of patience. Ready to get started? Let's dive in!
Choosing Your Materials
The first step is to gather your materials. This is where you get to choose the look and feel of your case. Here's a breakdown of what you'll need:
Wood
- The Body: Consider using high-quality plywood for the case's body. It's strong, lightweight, and readily available. Birch plywood is a popular choice for its durability and attractive grain patterns.
- The Hinged Front: You'll want a sturdy wood for the front, as it will bear the weight of your firearms. Solid hardwood like maple, oak, or walnut will make a beautiful and durable front. If you're working with a limited budget, select pine or poplar.
- The Interior: You can use a thin layer of plywood or foam to line the inside. This protects your firearms from dings and scratches.
Other Materials
- Hinges: Choose heavy-duty hinges that can handle the weight of the front panel. Look for hinges with a finish that complements your chosen wood.
- Latch: A strong and reliable latch is essential to secure your firearms. Consider a lockable latch for extra security.
- Wood Glue: Get a high-quality wood glue to bond the case components.
- Wood Screws: Use screws appropriate for the thickness of your wood. Use countersinking screws for a clean look.
- Finishing Supplies: Choose your preferred finish. Stain, paint, oil, and varnish are popular options.
- Sandpaper: You'll need various grits to smooth the wood and prepare it for finishing.
Designing Your Gun Case
Okay, now let's talk design. Before you jump into cutting wood, it's crucial to have a plan. Here's a step-by-step guide for designing your case:
- Measure Your Firearms: Measure the length, width, and height of the guns you'll be storing. Add some extra room for padding and a comfortable fit.
- Sketch a Design: Draw out your case on paper, including the overall dimensions, the position of the hinged front, and the placement of any interior features like dividers or foam padding.
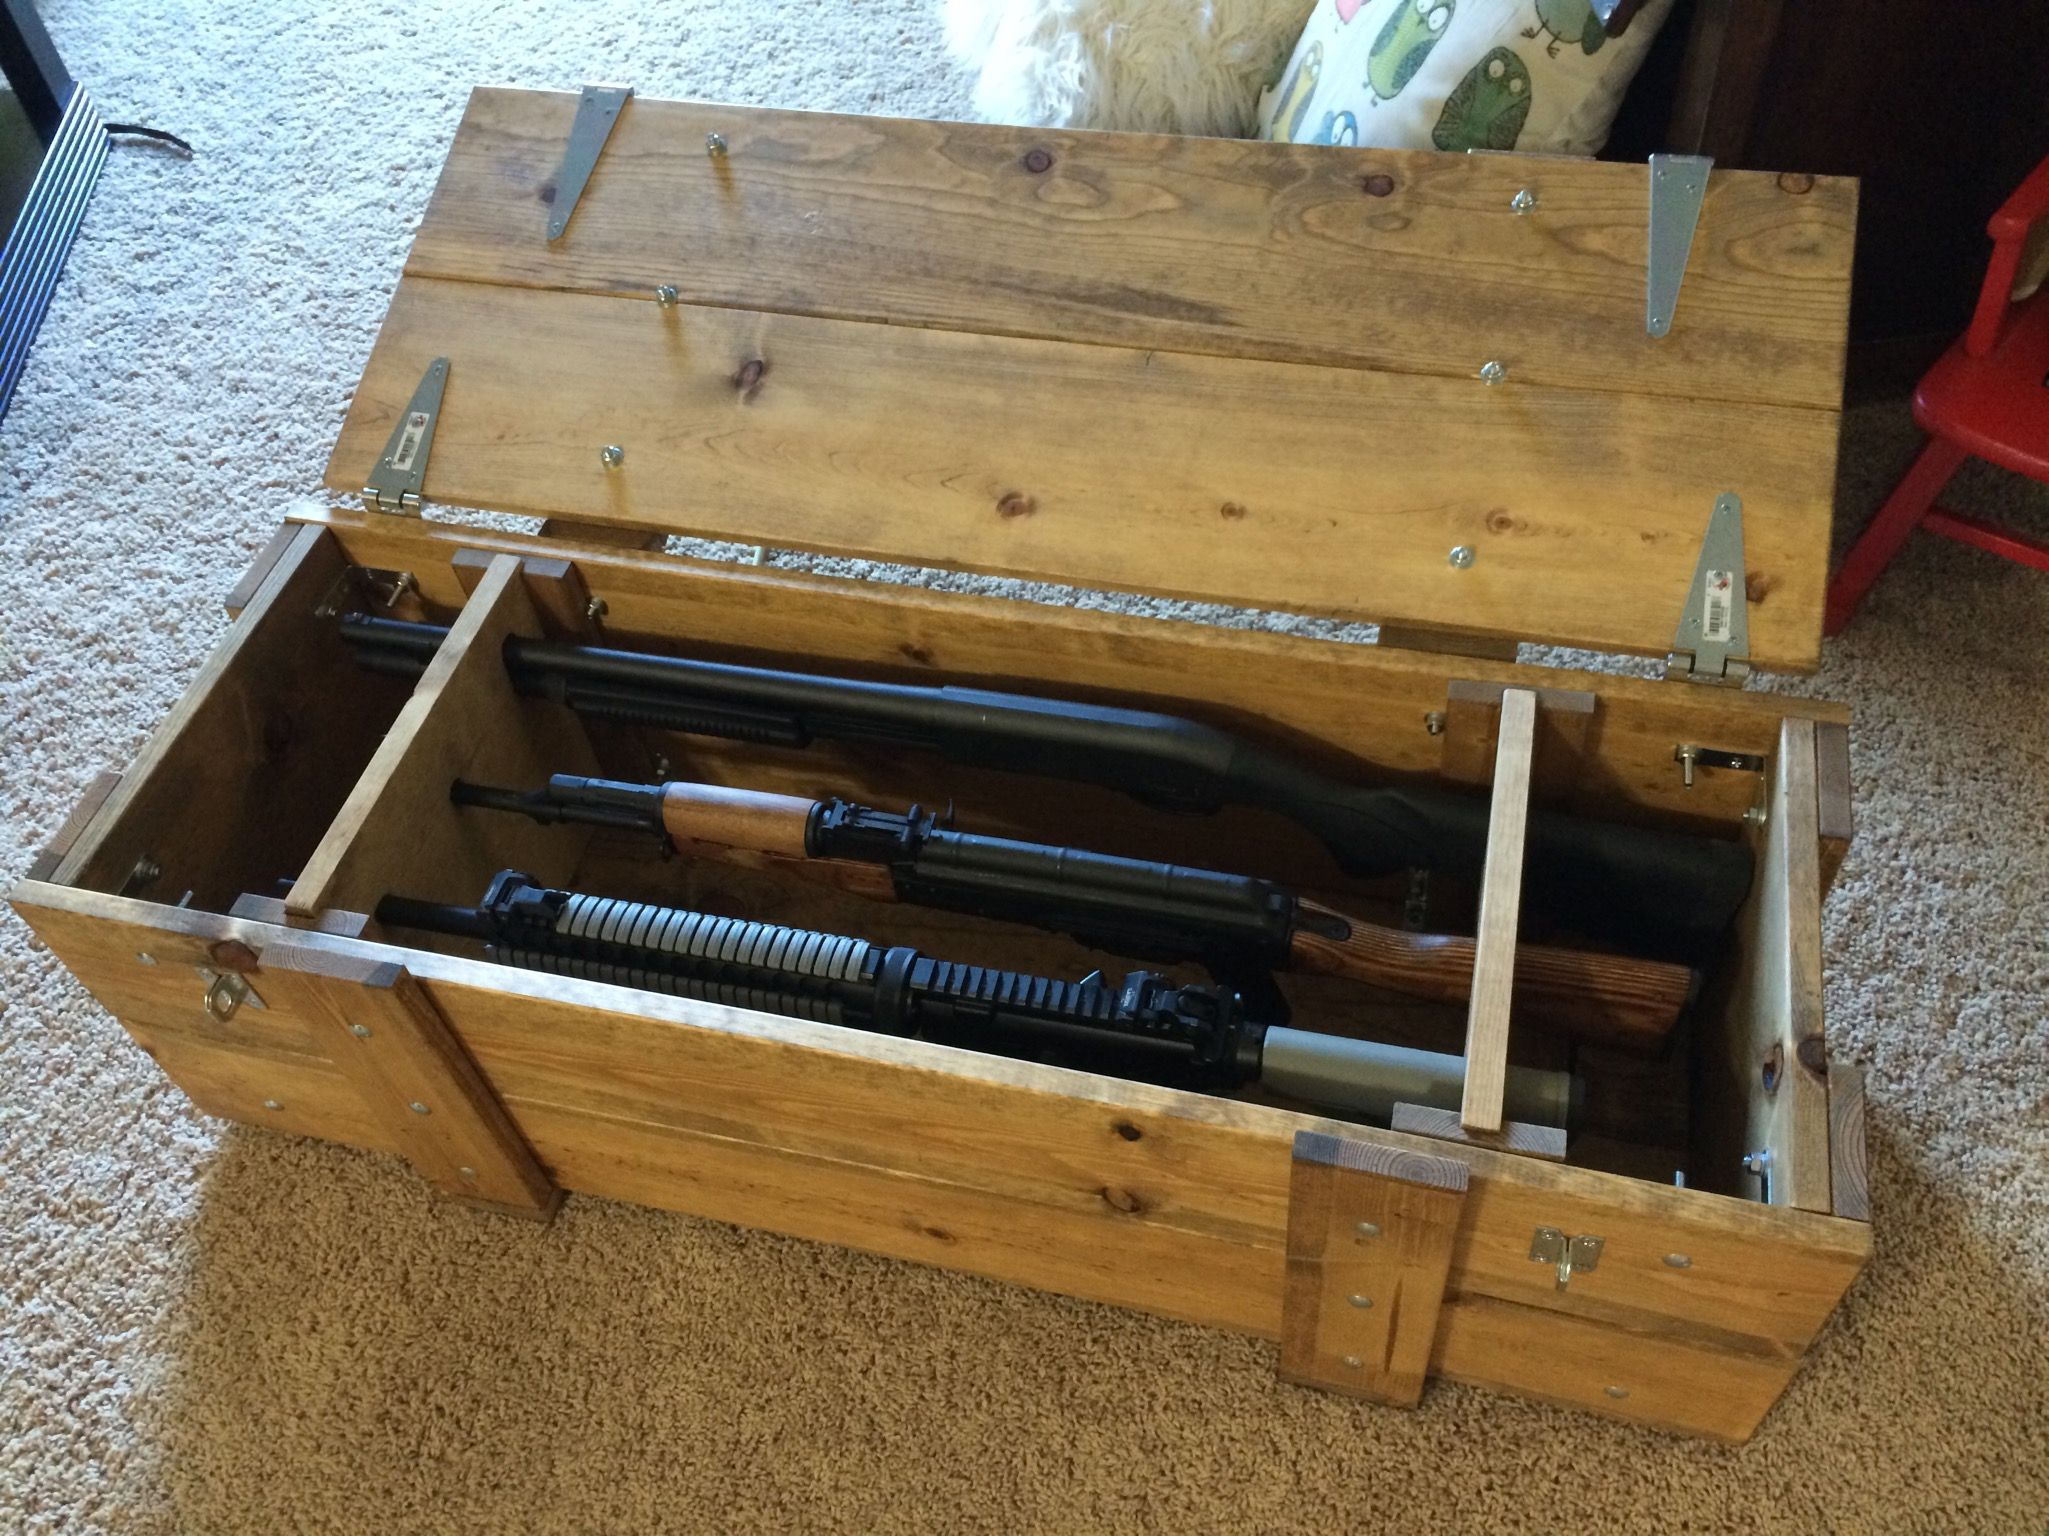
- Consider The Features: Think about the features you want. Do you need dividers to separate different firearms? Will you be using foam to cushion the guns? These details will influence the design of your interior.
- Choose a Style: Do you want a sleek modern case or a rustic, traditional one? The style will dictate the choice of wood, hinges, and finish.
Building the Case
Now it's time to get your hands dirty! Here's a step-by-step guide to building the case:
Cutting the Wood
- Cut the Body: Using your design as a guide, cut the plywood for the case's body. Use a circular saw, jigsaw, or table saw to make precise cuts.
- Cut the Hinged Front: Cut the hardwood for the hinged front, making sure to allow for the hinges and any decorative elements.
- Cut Interior Components: If you're planning on dividers or foam padding, cut the pieces to size.
Assembling the Case
- Attach the Hinges: Mark the positions for the hinges on the body and the hinged front. Attach the hinges using screws. Make sure they are positioned securely and level.
- Glue the Case Body: Apply wood glue to the edges of the plywood pieces, aligning them carefully. Clamp the body together and let the glue dry completely.
- Add Interior Features: If you have dividers, glue them into place. Secure foam padding with adhesive or staples.
Finishing the Case
- Sanding: Sand the case thoroughly with progressively finer grits of sandpaper. This will create a smooth surface for finishing.
- Finishing: Apply your chosen finish. Stain the wood for a rich color, paint it for a bold look, or use oil or varnish to protect the wood. Follow the manufacturer's instructions for the finishing process.
- Attach the Latch: Once the finish is dry, install the latch. Drill pilot holes to prevent the wood from splitting, and use screws appropriate for the latch.
Customization and Safety
Now you have a beautiful and functional gun case, but the fun doesn't stop there! Here are some ways to personalize your case and ensure safety:
Personalize Your Case
- Branding: Add your initials or a custom logo to the case for a personal touch. You can use woodburning tools, stencils, or even a laser engraver for this.
- Decorative Elements: Incorporate decorative elements like wood inlays, metal accents, or even leather straps. Get creative and let your personality shine through!
Safety Tips
- Secure Storage: Always store your firearms in a secure location, like a locked safe or cabinet, when not in use. This is crucial for safety.
- Firearm Safety: Remember, gun safety is paramount. Always follow basic firearms safety rules, like keeping the gun unloaded and stored separately from ammunition.
Congratulations! You've just built a stunning wooden gun case. Not only does it protect your firearms, but it also reflects your passion for craftsmanship. Enjoy showing off your handiwork and keeping your prized guns safe and secure.
Remember, if you're new to woodworking, it's always a good idea to start with smaller projects and gradually work your way up to more complex ones. Safety should be your top priority. Use proper safety equipment like goggles, gloves, and dust masks. Have fun, and happy building!

0 comments:
Post a Comment
Note: Only a member of this blog may post a comment.