Alright, so you want to build a natural wood clock for that minimalist vibe, huh? That's a great idea! You're gonna love the feeling of making something with your own two hands, and the end result will look super sleek in your home. Plus, it'll be a real conversation starter.
First things first, let's talk about the materials. You'll need some basic woodworking stuff:
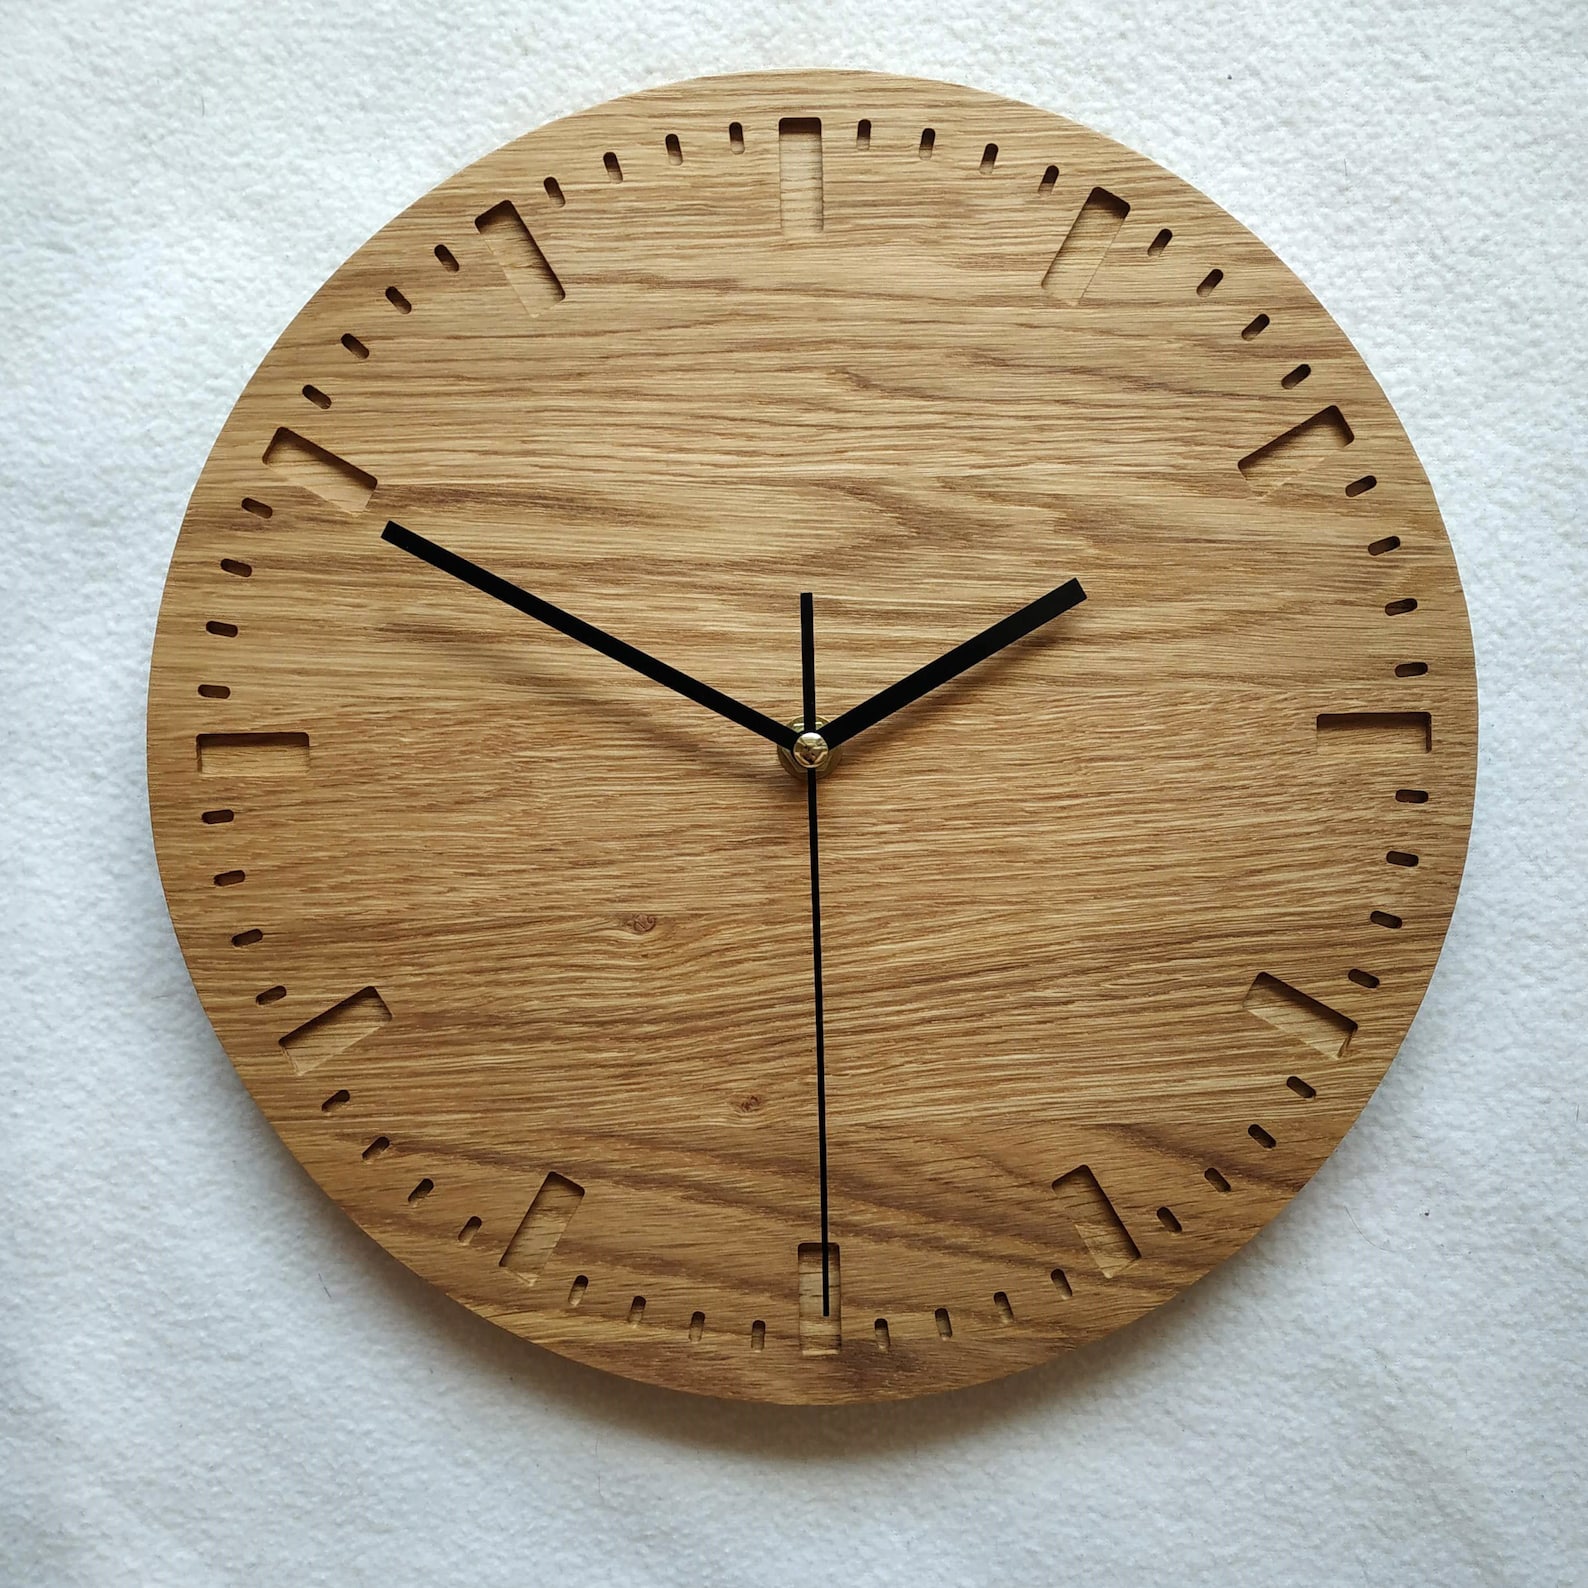
Wood: Go for something nice and simple, like oak, maple, or walnut. You want a wood that's going to look good with a natural finish.
Clock Movement: This is the heart of your clock. You can find them online or at your local hardware store. Make sure you get one with a silent mechanism, especially if you're putting it in a bedroom.
Clock Hands: Choose hands that complement the style of your clock. You can get them in metal, plastic, or even wood.
Wood Glue: Get a good quality wood glue.
Sandpaper: You'll need various grits for smoothing out the wood.
Wood Stain and Finish: If you want to darken the wood or give it a natural sheen, pick your favorite stain and finish.
Screws and Nails: These will help secure everything together.
Measuring Tape and Pencil: For marking out your cuts.
Saw: You'll need a saw to cut the wood to size. You can use a handsaw or a power saw, whichever you're comfortable with.
Drill: This will make the process of drilling pilot holes easier.
Clamps: You'll use these to hold the wood pieces together while the glue dries.
Okay, now let's get started:
Step 1: Designing Your Clock
Before you start cutting wood, take some time to think about the design. Do you want a round clock? Square? Maybe something more unique? How big do you want it to be? You can sketch out some ideas on paper to get a better feel for what you're going for.
Step 2: Cutting Your Wood
Once you've got your design sorted, it's time to start cutting the wood. Make sure your cuts are precise. You can use a saw, a jigsaw, or even a laser cutter if you're feeling fancy.
Step 3: Preparing the Wood
Now that your wood is cut, you'll need to smooth out the edges and surfaces. Start with a rough grit sandpaper and work your way up to a finer grit. This will give your clock a smooth and polished look.
Step 4: Assembling the Clock
Time to put your clock together! If you're making a round clock, you'll need to join the pieces together in a circle. You can use wood glue and clamps to hold them together. For a square or rectangular clock, you can simply join the pieces together with glue and screws.
Step 5: Installing the Clock Movement
The clock movement is the part that makes your clock tick. You'll need to install it in the back of the clock. Most clock movements come with instructions, so follow those carefully.
Step 6: Attaching the Clock Hands
Now it's time to attach the clock hands. Again, most clock movements come with instructions on how to do this.
Step 7: Finishing the Clock
Almost there! Now you need to finish the clock to protect the wood and give it a nice look. You can sand the wood again to smooth out any imperfections. Then, you can stain the wood to darken it, or you can simply apply a clear finish to seal the wood and enhance its natural beauty.
Step 8: Hanging Your Clock
Finally, it's time to hang your new clock on the wall. Make sure you choose a spot that gets good light and won't be blocked by furniture.
Tips for a Minimalist Look
Keep it simple: Don't overcomplicate things. A simple design with clean lines is going to look best.
Use natural wood: The beauty of natural wood is enough to make a statement.
Choose a simple finish: A clear finish or a light stain will let the natural beauty of the wood shine through.
Don't forget the clock hands: Make sure the hands complement the style of your clock.
Beyond the Basics
Once you've mastered the basics, you can get creative with your clock designs!
Add a little color: You can paint the clock hands or even the entire clock to add a pop of color.
Use different woods: Try using different types of wood for different parts of the clock.
Add a unique touch: Incorporate small details like metal accents or engraved designs.
Building a natural wood clock is a great way to show off your creativity and personalize your home. It's a fun project that's surprisingly easy to do, even if you're a woodworking beginner. So grab your tools, get creative, and let's build something beautiful together!

0 comments:
Post a Comment
Note: Only a member of this blog may post a comment.