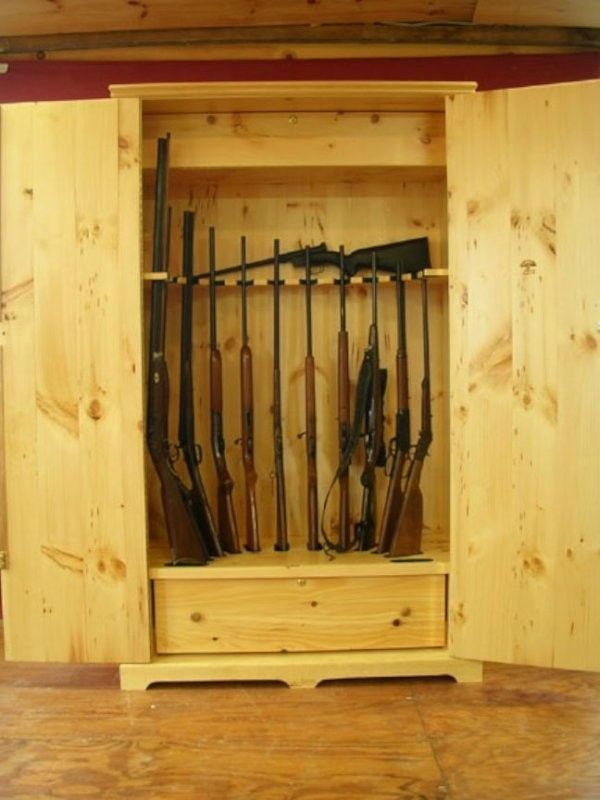
Building a Sturdy Wooden Gun Box with a Simple Locking Mechanism
A gun box provides secure storage for your firearms, safeguarding them from unauthorized access and ensuring their safety. Building your own wooden gun box allows you to customize its size, style, and features to meet your specific needs. In this guide, we'll walk you through the process of constructing a durable wooden gun box incorporating a simple yet effective locking mechanism.
Materials You Will Need
Before you begin, gather the necessary materials. This list includes:
- Wood: Choose a sturdy hardwood like oak or maple. You'll need enough to create the box's sides, bottom, top, and internal dividers (if desired).
- Hinges: Select heavy-duty hinges suitable for the size and weight of your box.
- Locking Mechanism: A simple padlock, barrel bolt, or magnetic latch can be used.
- Wood Glue: Use a strong wood glue for assembling the box.
- Wood Screws: Select screws that are appropriate for the wood you're using.
- Finishing Supplies: This includes wood stain, paint, varnish, or other desired finishes.
- Tools: You'll need basic woodworking tools such as a saw, drill, screwdriver, measuring tape, and sandpaper.
Building the Gun Box
Cut the Wood
Start by carefully cutting the wood for the box's components. The exact dimensions will depend on the size of the firearms you want to store. You'll need two pieces for the sides, two for the top and bottom, and potentially additional pieces for internal dividers if you're storing multiple guns. Cut the pieces to size using a saw, ensuring accurate measurements for a well-fitting box.
Assemble the Box
Next, assemble the box. Begin by joining the two sides to the bottom using wood glue and screws. Apply glue to the joint lines and clamp the pieces together while the glue dries. Repeat this process to attach the top to the sides, creating a secure box with tight joints.
Install the Hinges
Once the box is assembled, install the hinges on one side of the box. Attach the hinge leaves to the box's side, making sure the hinges align perfectly. Use screws to securely fix the hinges in place.
Adding the Locking Mechanism
Now, it's time to incorporate the locking mechanism.
Padlock Installation
For a padlock, you'll need to drill a hole for the hasp on one side of the box. Select a padlock size suitable for the hole and ensure it provides a secure fit. After drilling the hole, attach the hasp using screws or rivets.
Barrel Bolt Installation
For a barrel bolt, choose a bolt length appropriate for the box's thickness. Drill a hole for the barrel bolt on one side and the corresponding hole on the opposite side for the bolt's striker. Securely attach the bolt to the box using screws.
Magnetic Latch Installation
For a magnetic latch, attach the latch's receiver plate to one side of the box using screws. Mount the latch itself on the opposite side, ensuring the magnet aligns with the receiver plate. This creates a simple and secure latching mechanism.
Finishing the Box
Finish the box by sanding it smooth to remove any rough edges or imperfections. Apply a coat of wood stain or paint to enhance the box's appearance and provide protection. Once the finish is dry, apply a clear coat of varnish or polyurethane to seal the wood and protect it from moisture and scratches.
Safety Precautions
Remember to prioritize safety when working with tools and wood. Wear appropriate safety gear such as safety glasses and gloves.
0 comments:
Post a Comment
Note: Only a member of this blog may post a comment.